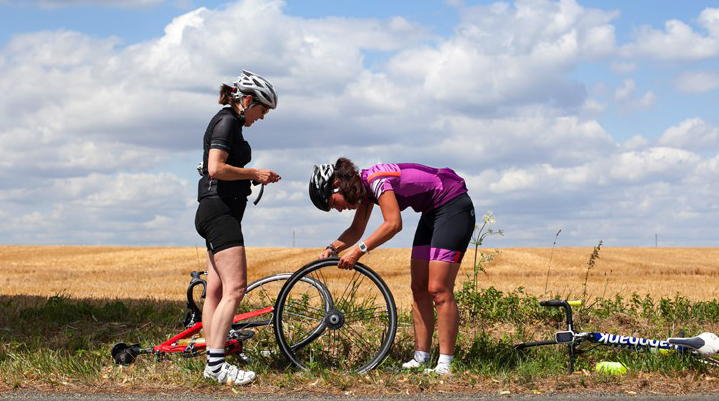
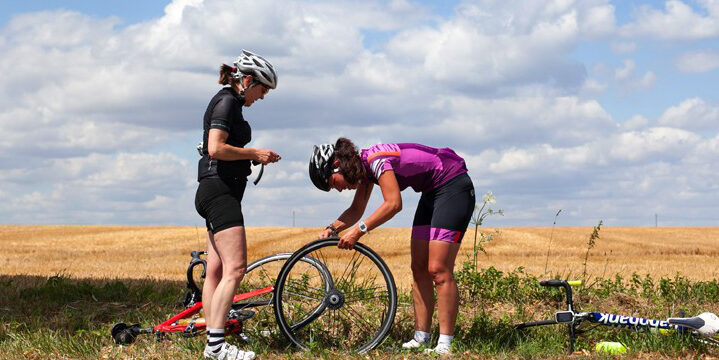
Changing your own flat tyre on your bike is a fundamental skill
To me, changing your own flat tyre on your bike is a fundamental skill that you really should learn but you’d be surprised how many riders don’t know how to do it. I worked in a bike shop for quite a few years and it never ceased to surprise me how many customers visited the shop to have a flat tyre repaired. My bike shop buddies tell me that type of business has increased markedly since the rise of bicycle delivery people on our local roads. They could all be saving themselves time and money by learning to do it themselves.

If you ride a bike often enough you’re going to find yourself in a predicament where you need to fit a new inner tube, and it’s likely to be beside a road or similar inconvenient location. Even if you aren’t confident of your own ability, you should carry a spare tube, tyre levers and a pump or CO2. I guarantee that if you’re in an area where other cyclists ride past, you’ll be offered help by others. On most occasions when I’ve had a flat tyre it’s been changed by my companions, or at least with the help of others.
There are however a few things you can do to avoid punctures. Firstly, keep your tyres inflated to the correct pressure. The recommended PSI for each tyre is printed on the sidewall of the tyre and is often a range rather than one number. That way you’ll avoid a pinch-flat which is caused by tyre pressure being too low, and when you hit a bump, the tube pinches against the rim. Check your tyre pressure at least weekly because they gradually lose pressure.
The other major cause of punctures is something working its way through the tyre, pricking the tube and causing it to deflate. This can either be instantaneous, or a delayed process presenting itself some way down the track. To avoid this type of puncture keep an eye on the condition of your tyres and every so often, deflate the tyre, and go around it picking out any fragments of glass with a sharp point. You should also avoid riding through patches of glass on the road and other potentially sharp objects that could cause a puncture.
If you do find you’ve got a flat tyre, don’t panic. Find a safe place off the road or bike path and take your time to ensure you do it properly.
Here’s a step-by-step guide:
- Remove the wheel from your bike, and let out any remaining air in the tube by depressing the valve
- Insert one tyre lever under the bead of the tyre, and lever it over the rim. Repeat this process until one side of the tyre is sitting outside the rim
- Remove the flat tube and store it away for disposal when you get to a garbage bin
- Run your fingers around the inside of the tyre to feel whether anything is sticking through the tyre casing. If you find anything, remove it
- Check the sidewalls of the tyre for any cuts or slashes
- If you still haven’t found any obvious cause for the flat, run your finger around the inside of the rim again and check that the rim strip/tape is in good condition and hasn’t exposed any spoke holes
- Inflate the replacement tube just enough for it to hold its shape inside the tyre—this limits the risk of it sitting under the bead of the tyre and pinching on full inflation
- Insert the valve of the tube through the valve hole and then work your way around, inserting the tube into the inside of the tyre
- Slowly work the tyre around onto the rim. You should be able to do this with your thumbs for most of it and only use the tyre levers at the end if the tyre is very tight. As soon as you use tyre levers, there’s a far greater risk of pinching the tube and taking yourself right back to square one
- Once you’ve seated the tyre correctly on the rim, inflate the tube about halfway, check that there are no unsightly bulges or asymmetries, and then inflate fully
- Refit your wheel and you’re on your way.

