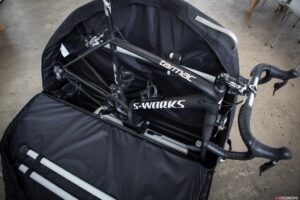
Get ready for the Tour Down Under – tips for packing your bike to fly

In January, road cyclists all around Australia get ready to travel to Adelaide for the annual Tour Down Under and for many riders that involves packing your bike to fly.
If you’re not really confident about packing your own bike then make a quick call to your local bike shop and ask them to assist. They’ll probably charge you a modest fee so check that when you make the call to them, and make sure you allow plenty of time before your trip. If you want to give it a go yourself then keep reading.
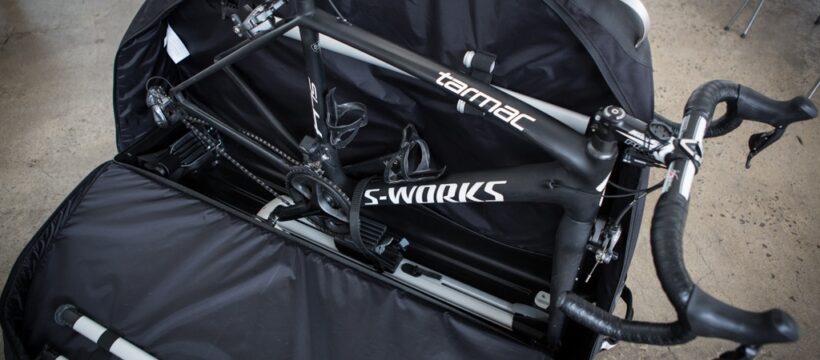
My partner and I have been travelling with our bikes for 11 years and for the first four of those we carried our bikes in cardboard boxes. We have now moved up a step and bought ourselves some purpose-built Thule RoundTrip Pro bike bags but for many trips, we were content with the humble box. Here’s some of what we learned in a step-by-step guide. A lot of the tips apply equally to boxes or bags:
- Make sure the airline you are travelling with will carry the size of box or bag you are planning to use well in advance. Most airlines I’ve flown with will consider your bike box or bag as a piece of oversized luggage, so it will count as one item and the weight will go towards your allowable limit.
- Contact your local bike shop and ask them to supply a box suitable to transport your bike. Most will happily give these away because they have to dispose of them anyway.
- You’ll need a few tools like a pedal spanner, allen keys and if you have a carbon-frame bike you might also need a torque wrench. A torque wrench is a tool used to precisely apply a specific torque to a fastener such as a nut or a bolt. On or near the seat post and other parts there’ll be sticker indicating the recommended torque for the bolts.
- Gather up some packaging materials like bubble wrap, foam packaging or even visit your local Clark Rubber store for some off-cuts.
- Take the pedals off which is best done with a pedal spanner or allen key. The right-sided pedal unscrews anti-clockwise and the left-sided pedal goes clockwise. Pedals can be very hard to remove. When you go to the bike shop to pick up the box you could ask them to loosen them off for you so you can more easily remove them.
- Remove your handlebars but make sure you mark or note the angle/position of the bars first. To remove the bars unscrew the bolts that hold the clamp holding them in place, allowing the handlebars and all the attached brake and gear cables to be slipped neatly into the box, inside the triangle of your frame. Then put the bolts back in place so you don’t lose them or the clamp that holds the handlebars on.
- Take the wheels off (an easy job if you have quick-release wheels) and let the tyres down. Depending on your bike and size of the box you may be able to leave the rear wheel on and only take off the front one. Most airlines will ask if you have deflated the tyres when you’re checking your bike in at the airport.
- Remove the seat which is done by loosening the seat post clamp usually with an allen key. Make sure you note the position of your seat or mark it with a pen or electrical tape. When you put it back in place, make sure it’s straight before you tighten it up. This is where you may need a torque wrench. Because my bike is quite small I don’t actually need to remove my seat post to fit it in my bag so check yours first.
- Make sure you use plenty of packaging and protective materials around the delicate parts of the bike and secure anything loose with cable ties. Plus, make sure you pack some spare cable ties for the return journey and some scissors/cutters to cut them off.
- Pack some other bike-related equipment like your helmet, shoes and drink bottles but make sure they are well protected and will not bounce around inside the box or bag.
- Close the box up with a healthy dose of packing tape and string and write your name and contact details on the box. You can even use luggage straps to make sure it’s really secure and put some extra tape around the carrying holes/handles where the box can easily tear.
When putting it back together at the other end of your journey, do the same steps in reverse. If you’re not confident about this process then find a friend who is, and ask them in advance to assist, or failing that, find a local bike shop at your destination and once again pre-arrange to have them assist.

