Road Cycling 101: You should learn about braking on a road bike
When I started riding a road bike nearly 13 years ago I had no idea that there was actually a technique involved in braking on a road bike. If I wanted to slow down I just grabbed either or both of the brake levers and it seemed to work. I had no notion that the front and back brakes have a different role and that there was a technique involved in using them. I, like so many newbie cyclists, used my brakes far too much, particularly when cornering.
So I thought it would be helpful if I shared some of what I have learned from others and my own research.
In Australia and some other countries (those that drive on the left side of the road), the brake lever for the front brake is on the right-hand side of the handlebars and the rear brake on the left-hand side. Unless you’ve bought your bike overseas or had your brakes altered, then this will be the standard setup.
When braking, your front brake is there to stop you and the back brake is there to shave off speed. Roughly 70 to 80 per cent of your stopping power comes from the front brake. Leaving 20 to 30 per cent for the back brake. Try standing on the ground over your top tube and applying the brakes one at a time and pushing your bike forward. You’ll see how this applies.
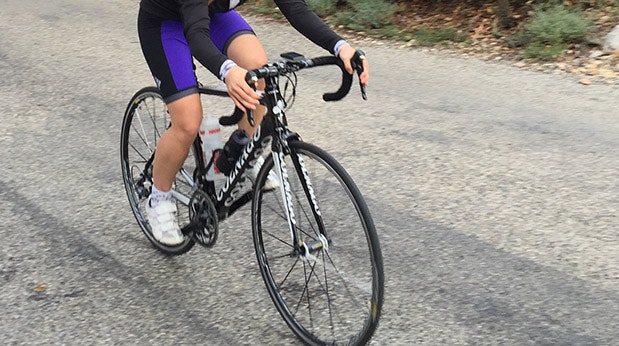
For most riding, you should have your hands in a position where you can brake easily. In most cases, this is going to be with your hands on the brake hoods. That doesn’t mean you can’t ride with your hands on the top of the handlebars but it should be reserved for times when you know you are unlikely to need to brake quickly.
Cornering
Some experts say you should never brake when cornering but this is a bit unrealistic, particularly for new cyclists whose instinct is to slow down when they have to go around a corner. Be aware that the harder you brake the more your bike wants to straighten out, which obviously makes it harder to go around a corner. Instead, you should feather your brakes lightly and wash off your speed before you enter the turn. Then turn with minimal or no braking.
Descending
If you grab the brakes too hard when you are descending the bike will be difficult to handle and may even send you over the handlebars. Use both brakes evenly but brake lightly to wash off your speed, then release them and repeat as required. If you apply both brakes continuously they will heat up too much.
Emergency braking
When you hit the brakes hard in an emergency your bike slows down or stops and your body keeps going, sending your weight forward over the front wheel. To counter this effect you need to shift your weight back on the saddle. It’s worth practicing this rather than having to remember in a real emergency.
Braking in wet weather
Your rims will be less grippy in the wet so brakes will work less effectively so ride more slowly and allow more room to stop. Disc brakes make riding in wet weather a bit easier because the brakes handle the water a lot better but they are not perfect.
It all sounds great in theory and requires practice. Even after nearly 13 years I still find myself braking too much on occasion, although being conscious of how the brakes work helps me continue to improve my bike skills.